1. Insert the CD-ROM into CD-ROM drive
2. Execute Windows Utility
3. The Welcome screen will appear, click Next.
4. To Configure the BiPAC 5200 Series with out using the Windows CD Utility, Click here.

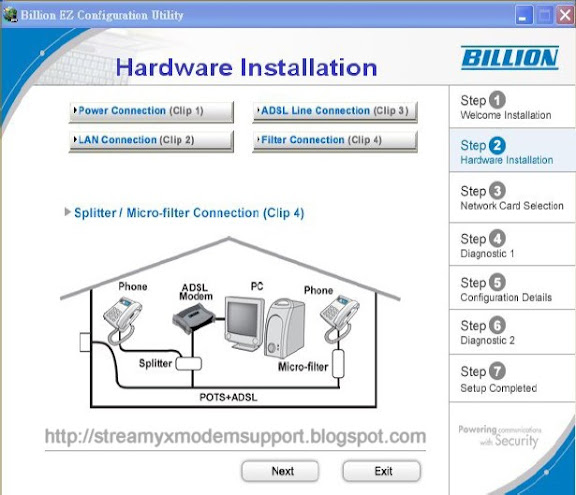
4. The Hardware Installation screen will appear. Four links are shown on the screen.
Click them one by one and follow the guidelines to complete hardware installation.
Click them one by one and follow the guidelines to complete hardware installation.
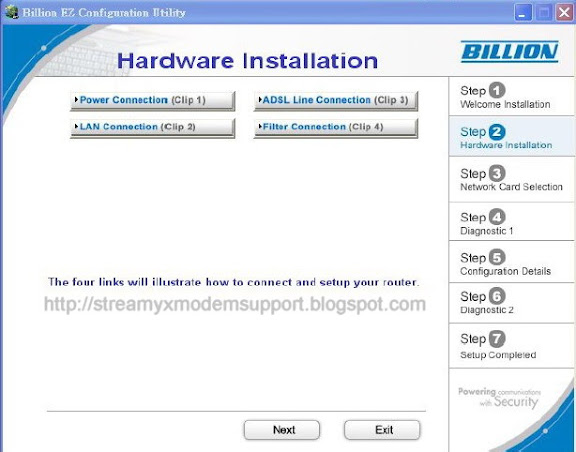
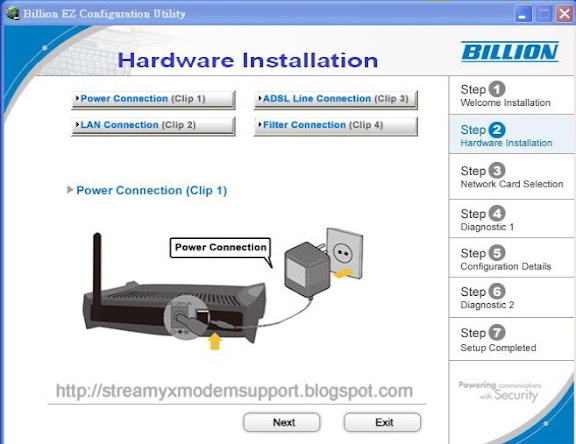
4.1 Power connection
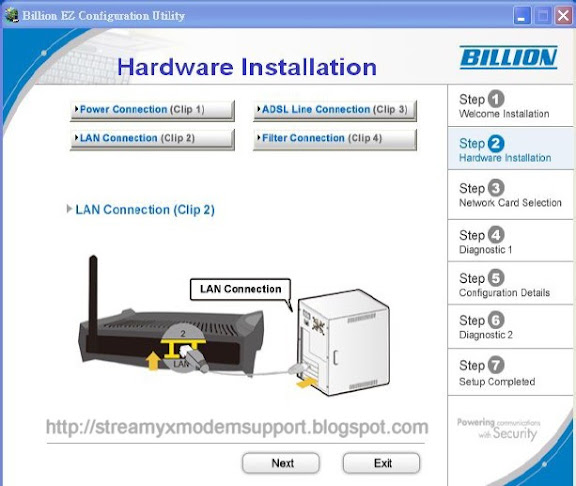
4.2 LAN connection
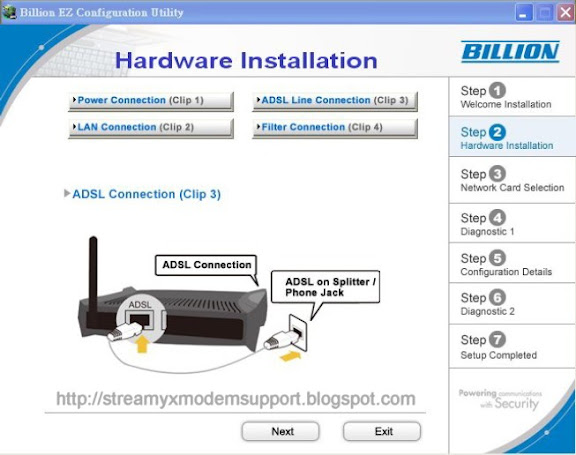
4.3 ADSL Line connection
4.4 Filter connection
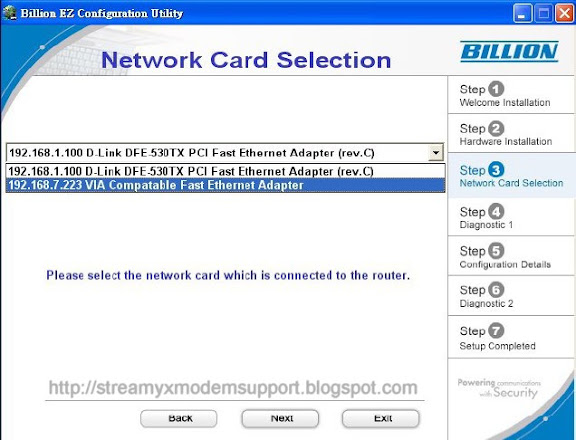
5. When finished Hardware Installation, click “Next” to proceed to next step, Network Interface Controller (NIC) Card Selection.
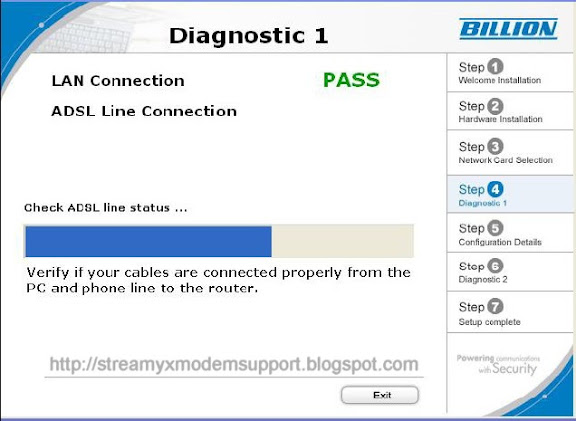
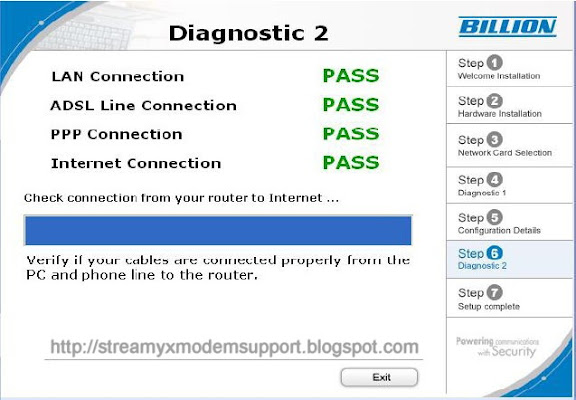
6. Diagnostic screen. (If connection fails, the screen will show “FAIL” , please check your router is connected correctly.)
7. Click Next to enter Configuration Details
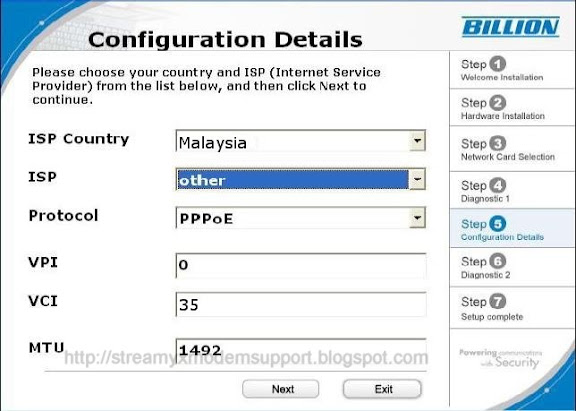
8. Set up more detailed settings such as Country, ISP, Protocol, VPI, VCI and MTU.
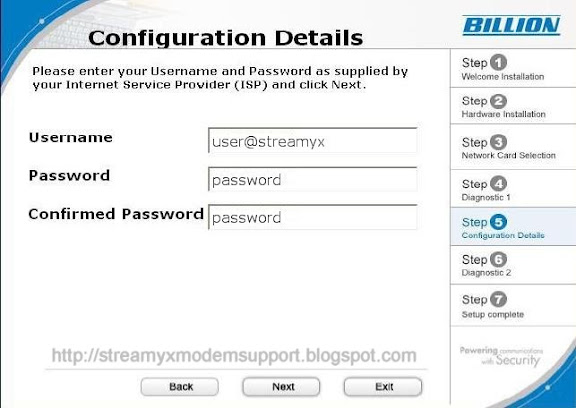
9. Please enter “Username” and “Password” as supplied by your ISP (Internet Service Provider) and click next.
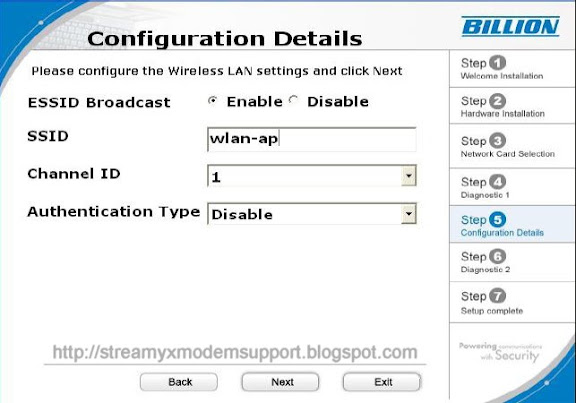
10. For BiPAC 5200G/ 5200GR2/ 5200GR3/ 5200GR4/ 5200GR5 only. Please configure the Wireless LAN setting and click next. (If your router does not support wireless, please ignore this screen and it will not appear.)
11. Click Next to proceed to Diagnostic screen
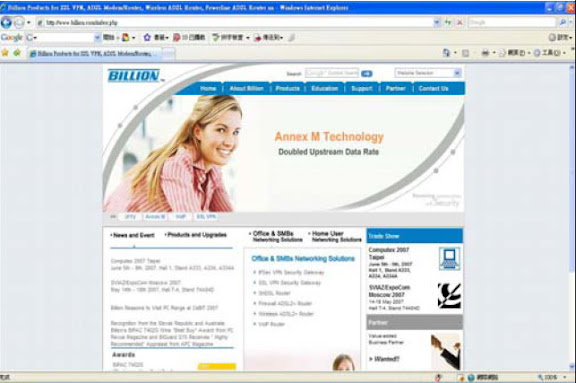
12. Congratulations!! You’ve completed the setup procedure and are ready for surfing the Internet. Enjoy using the Streamyx DSL Broadband Internet Connection.

13. The IE browser will be opened automatically when you finish installing.
0 comments:
Post a Comment