After configuring the PC to obtain the IP address(es) automatically, the router’s DHCP server will automatically give LAN clients an IP address. By default, the router’s DHCP server is enabled so that an IP address can be obtained automatically. Once the PC has obtained an IP address from the router, enter the default IP address 192.168.2.1 (the router’s IP address) into the PC’s Web browser and press Enter.

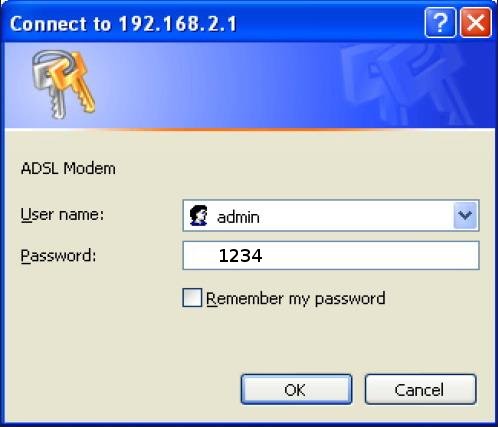
The login screen will appear. Enter the username and password, then click OK to login.
By default, the username is “admin” and the password is “1234”.
NOTE: For security reasons, it is recommended that the password be changed as soon as possible.
Congratulation! You are now successfully logon to the INTELLINET INT-523462 ADSL2+ Router!
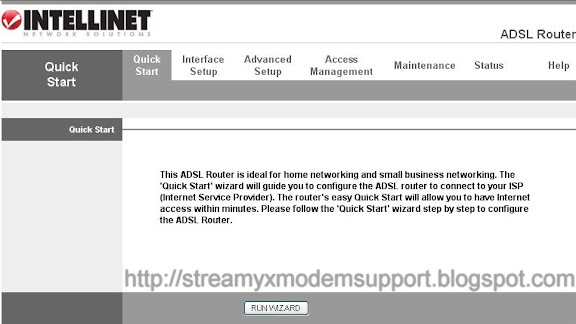
The Home Page screen appears, displaying seven instructional options:
Quick Start, Interface Setup, Advanced Access Management, Maintenance, Status and Help.
Step 1: Select the Quick Start tab, then click RUN WIZARD, and you will see the next screen.
Click NEXT to continue.
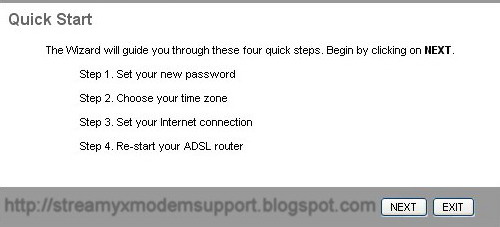
Click NEXT to continue.
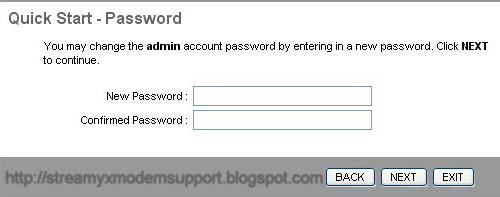
Username: The username of the router is “admin” by default.
New Password: Enter up to 30 characters for the new password.
Confirm Password: the new password again to confirm the setting.
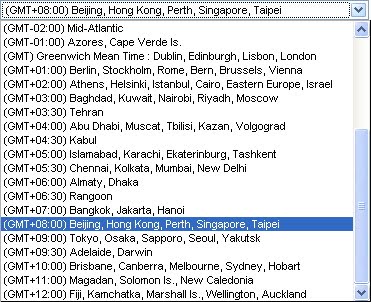
Step 2: Configure the time for the Router, and then click the NEXT continue.

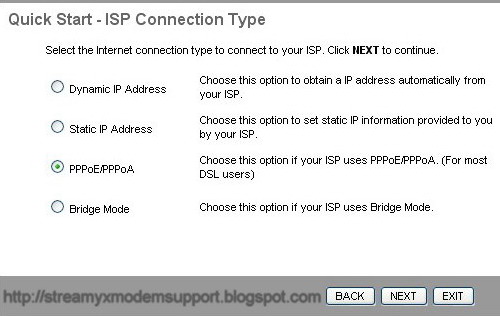
Step 3: Select the connection type to connect to the ISP (We select PPPoE/PPPoA mode for example here), and then click the NEXT button.
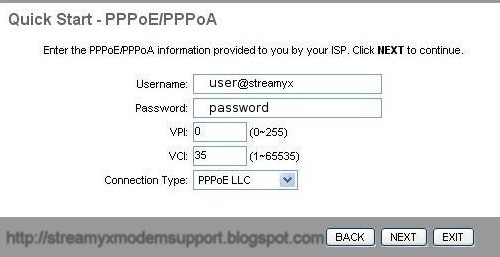
Step 4: Configure the following options provided by your ISP: Username, Password, VPI, VCI and Connection Type. Then click Next.
Step 5: Click NEXT to finish the Quick Start.

Step 6. Quick Start Completed and Saved Changes, Click Close and Restart the Router
0 comments:
Post a Comment