Showing posts with label INTELLINET Modem Router WiFi. Show all posts

INTELLINET INT-523462 Web Management Configuration

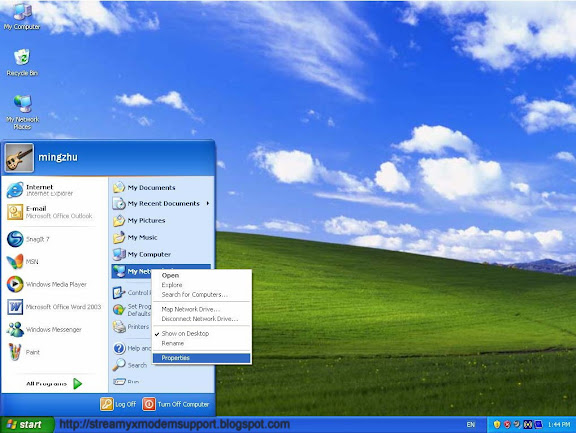
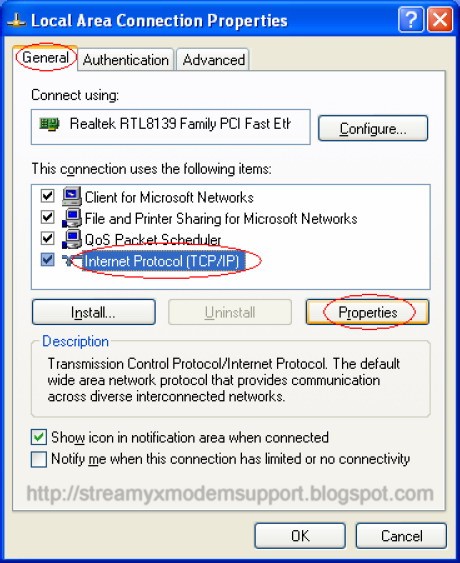
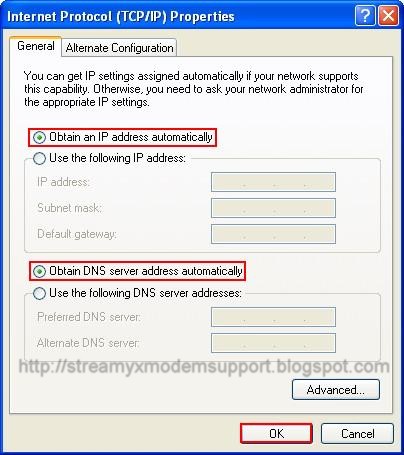
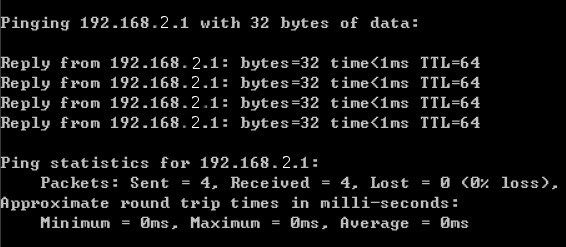
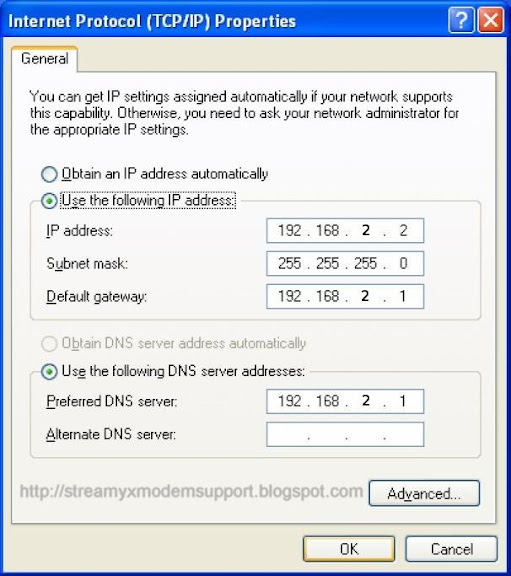
After configuring the PC to obtain the IP address(es) automatically, the router’s DHCP server will automatically give LAN clients an IP address. By default, the router’s DHCP server is enabled so that an IP address can be obtained automatically. Once the PC has obtained an IP address from the router, enter the default IP address 192.168.2.1 (the router’s IP address) into the PC’s Web browser and press Enter.


The login screen will appear. Enter the username and password, then click OK to login.
By default, the username is “admin” and the password is “1234”.


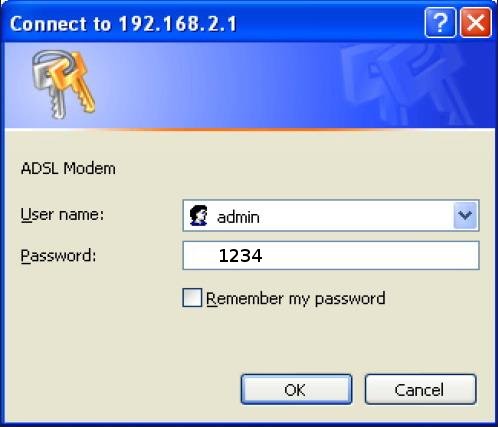
NOTE: For security reasons, it is recommended that the password be changed as soon as possible.

Congratulation! You are now successfully logon to the INTELLINET INT-523462 ADSL2+ Router!

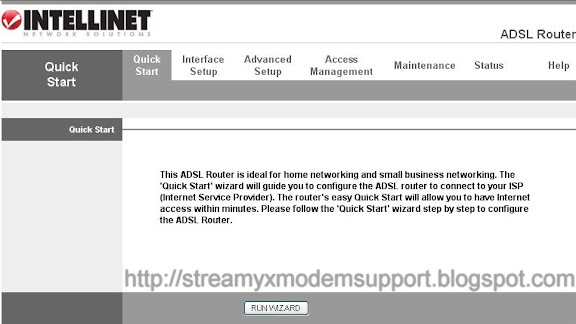
The Home Page screen appears, displaying seven instructional options:
Quick Start, Interface Setup, Advanced Access Management, Maintenance, Status and Help.

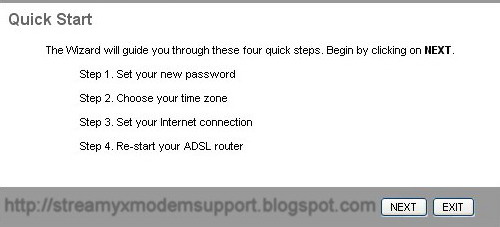
Step 1: Select the Quick Start tab, then click RUN WIZARD, and you will see the next screen.


Click NEXT to continue.


Click NEXT to continue.

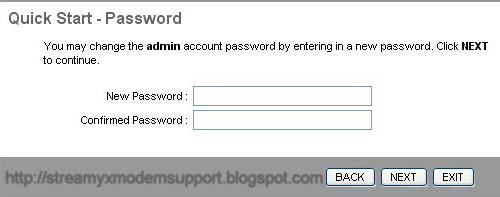
Username: The username of the router is “admin” by default.
New Password: Enter up to 30 characters for the new password.
Confirm Password: the new password again to confirm the setting.

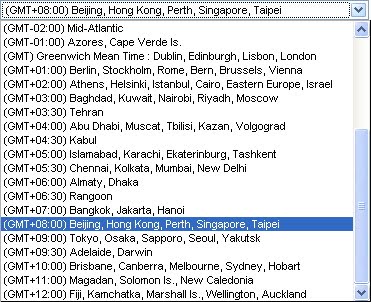
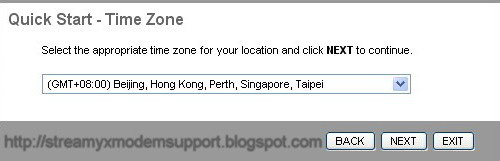
Step 2: Configure the time for the Router, and then click the NEXT continue.


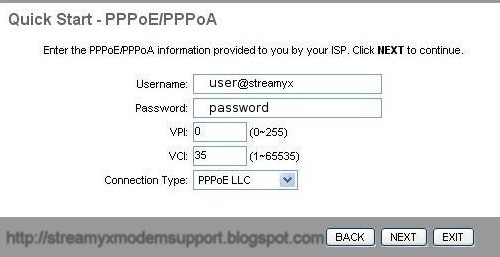
Step 3: Select the connection type to connect to the ISP (We select PPPoE/PPPoA mode for example here), and then click the NEXT button.


Step 4: Configure the following options provided by your ISP: Username, Password, VPI, VCI and Connection Type. Then click Next.


Step 5: Click NEXT to finish the Quick Start.

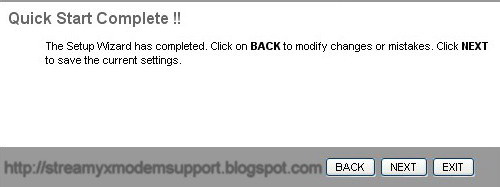
Step 6. Quick Start Completed and Saved Changes, Click Close and Restart the Router

INTELLINET INT-523462 Quick Start Guide

PC Configuration

Before making configuration to the PC make sure To check, To know and To do the first part of this Quick Start Guide. You can skip this part and continue if you are savvy, for newbie click here on how-to Do-It-Yourself.

The INTELLINET INT-523462 router’s default IP address is 192.168.2.1; the subnet mask is 255.255.255.0. PCs can be configured to obtain an IP address automatically through the server of the router or a fixed IP address in order to be in the same subnet as the router. By default, the server of the router is enabled and will dispatch an IP address to the PC from between 192.168.2.100 and 192.168.2.200. It is strongly recommended that IP addresses be obtained automatically.

This section explains how to configure a PC so that it can obtain an IP address automatically for Windows 95/98/Me, 2000 or NT operating systems. For other operating systems (Macintosh, Sun, etc.), follow the manual of the operating system.


Windows XP

Step 1
: Click the Start menu on your desktop, right click My Network Places, and then select Properties (shown in Figure 3-1).


Figure 3-1

Step 2: Right click Local Area Connection (LAN), and then select Properties.


Figure 3-2

Step 3: Select General tab, highlight Internet Protocol (TCP/IP), and then click the Properties button.


Figure 3-3

Step 4: Select Obtain an IP address automatically and DNS server address automatically. Click OK to confirm the setting, your PC will now obtain an IP address automatically from the router’s DHCP server.


Figure 3-4

NOTE: Make sure the router’s DHCP server is the only one available on your LAN.

Now, you can run the Ping command in the command prompt to verify the network connection. Please click the Start menu on your desktop, select run tab, type cmd in the field, and then type ping 192.168.2.1 on the next screen, and then press Enter. If the result displayed is similar to the screen below, the connection between your PC and the Router has been established.


Figure 3-5

If the result displayed is similar to the screen shown below, it means that your PC has not connected to the INTELLINET INT-523462 ADSL2+ Modem/Bridge/Router.


Figure 3-6

request time out - The router's DCHP server is might be disabled or conflict with the other DCHP server in your Local Area Network (LAN).

To solved this issue, first lets check if the PC Network Interface Controller (NIC) Card or the Ethernet Card is working properly or the driver of the adapter is being installed.

Please click the Start menu on your desktop, select run tab, type cmd in the field and click OK. Type ping localhost on the next screen and press Enter. If the result displayed is similar to the screen below then your PC Ethernet Card is working properly.


Figure 3-7


Please repeat Step 3 in Figure 3-3 and continue with Step 4 but instead of "Obtain an IP address automatically and DNS server address automatically" configure it manually as illustrated in Figure 3-8.


Figure 3-8

Now you should be able to ping the INTELLINET INT-523462 Modem/Bridge/Router as illustrated in Figure 3-5. Click here to continue the Quick Start Guide.
Related Posts Plugin for WordPress, Blogger...